Relative to cars of just a just a decade ago, and certainly to those built in the Eighties, vehicles have gotten to be very reliable. And that’s a good thing, as we’re not very good at taking care of them. Those of us that bring our cars in for the occasional oil change take some comfort in knowing that our tires and fluids were checked during the procedure…we hope.
How to Check Your Oil
But if you really want to be on top of things, you should check your oil between oil changes. It’s an easy thing to do, and can save you a lot of money–and even more frustration–should something be amiss. Also, you may help your engine last longer.
Checking your oil takes about two minutes and is super easy to do. Here’s what you need to know:
How to Check Your Oil
The best time to check the oil level is in the morning after the car has been sitting overnight. The car should be parked on a level surface so the dipstick reading will be accurate. If the car has been driven, shut the engine off and wait several minutes before checking the level so the oil can drain back into the crankcase. Trying to check the oil level while the engine is running or immediately after shutting it off may give you a false low reading, because some of the oil will still be circulating in the engine.
Raise the hood
The hood release is located somewhere near your left knee as you’re seated behind the wheel.
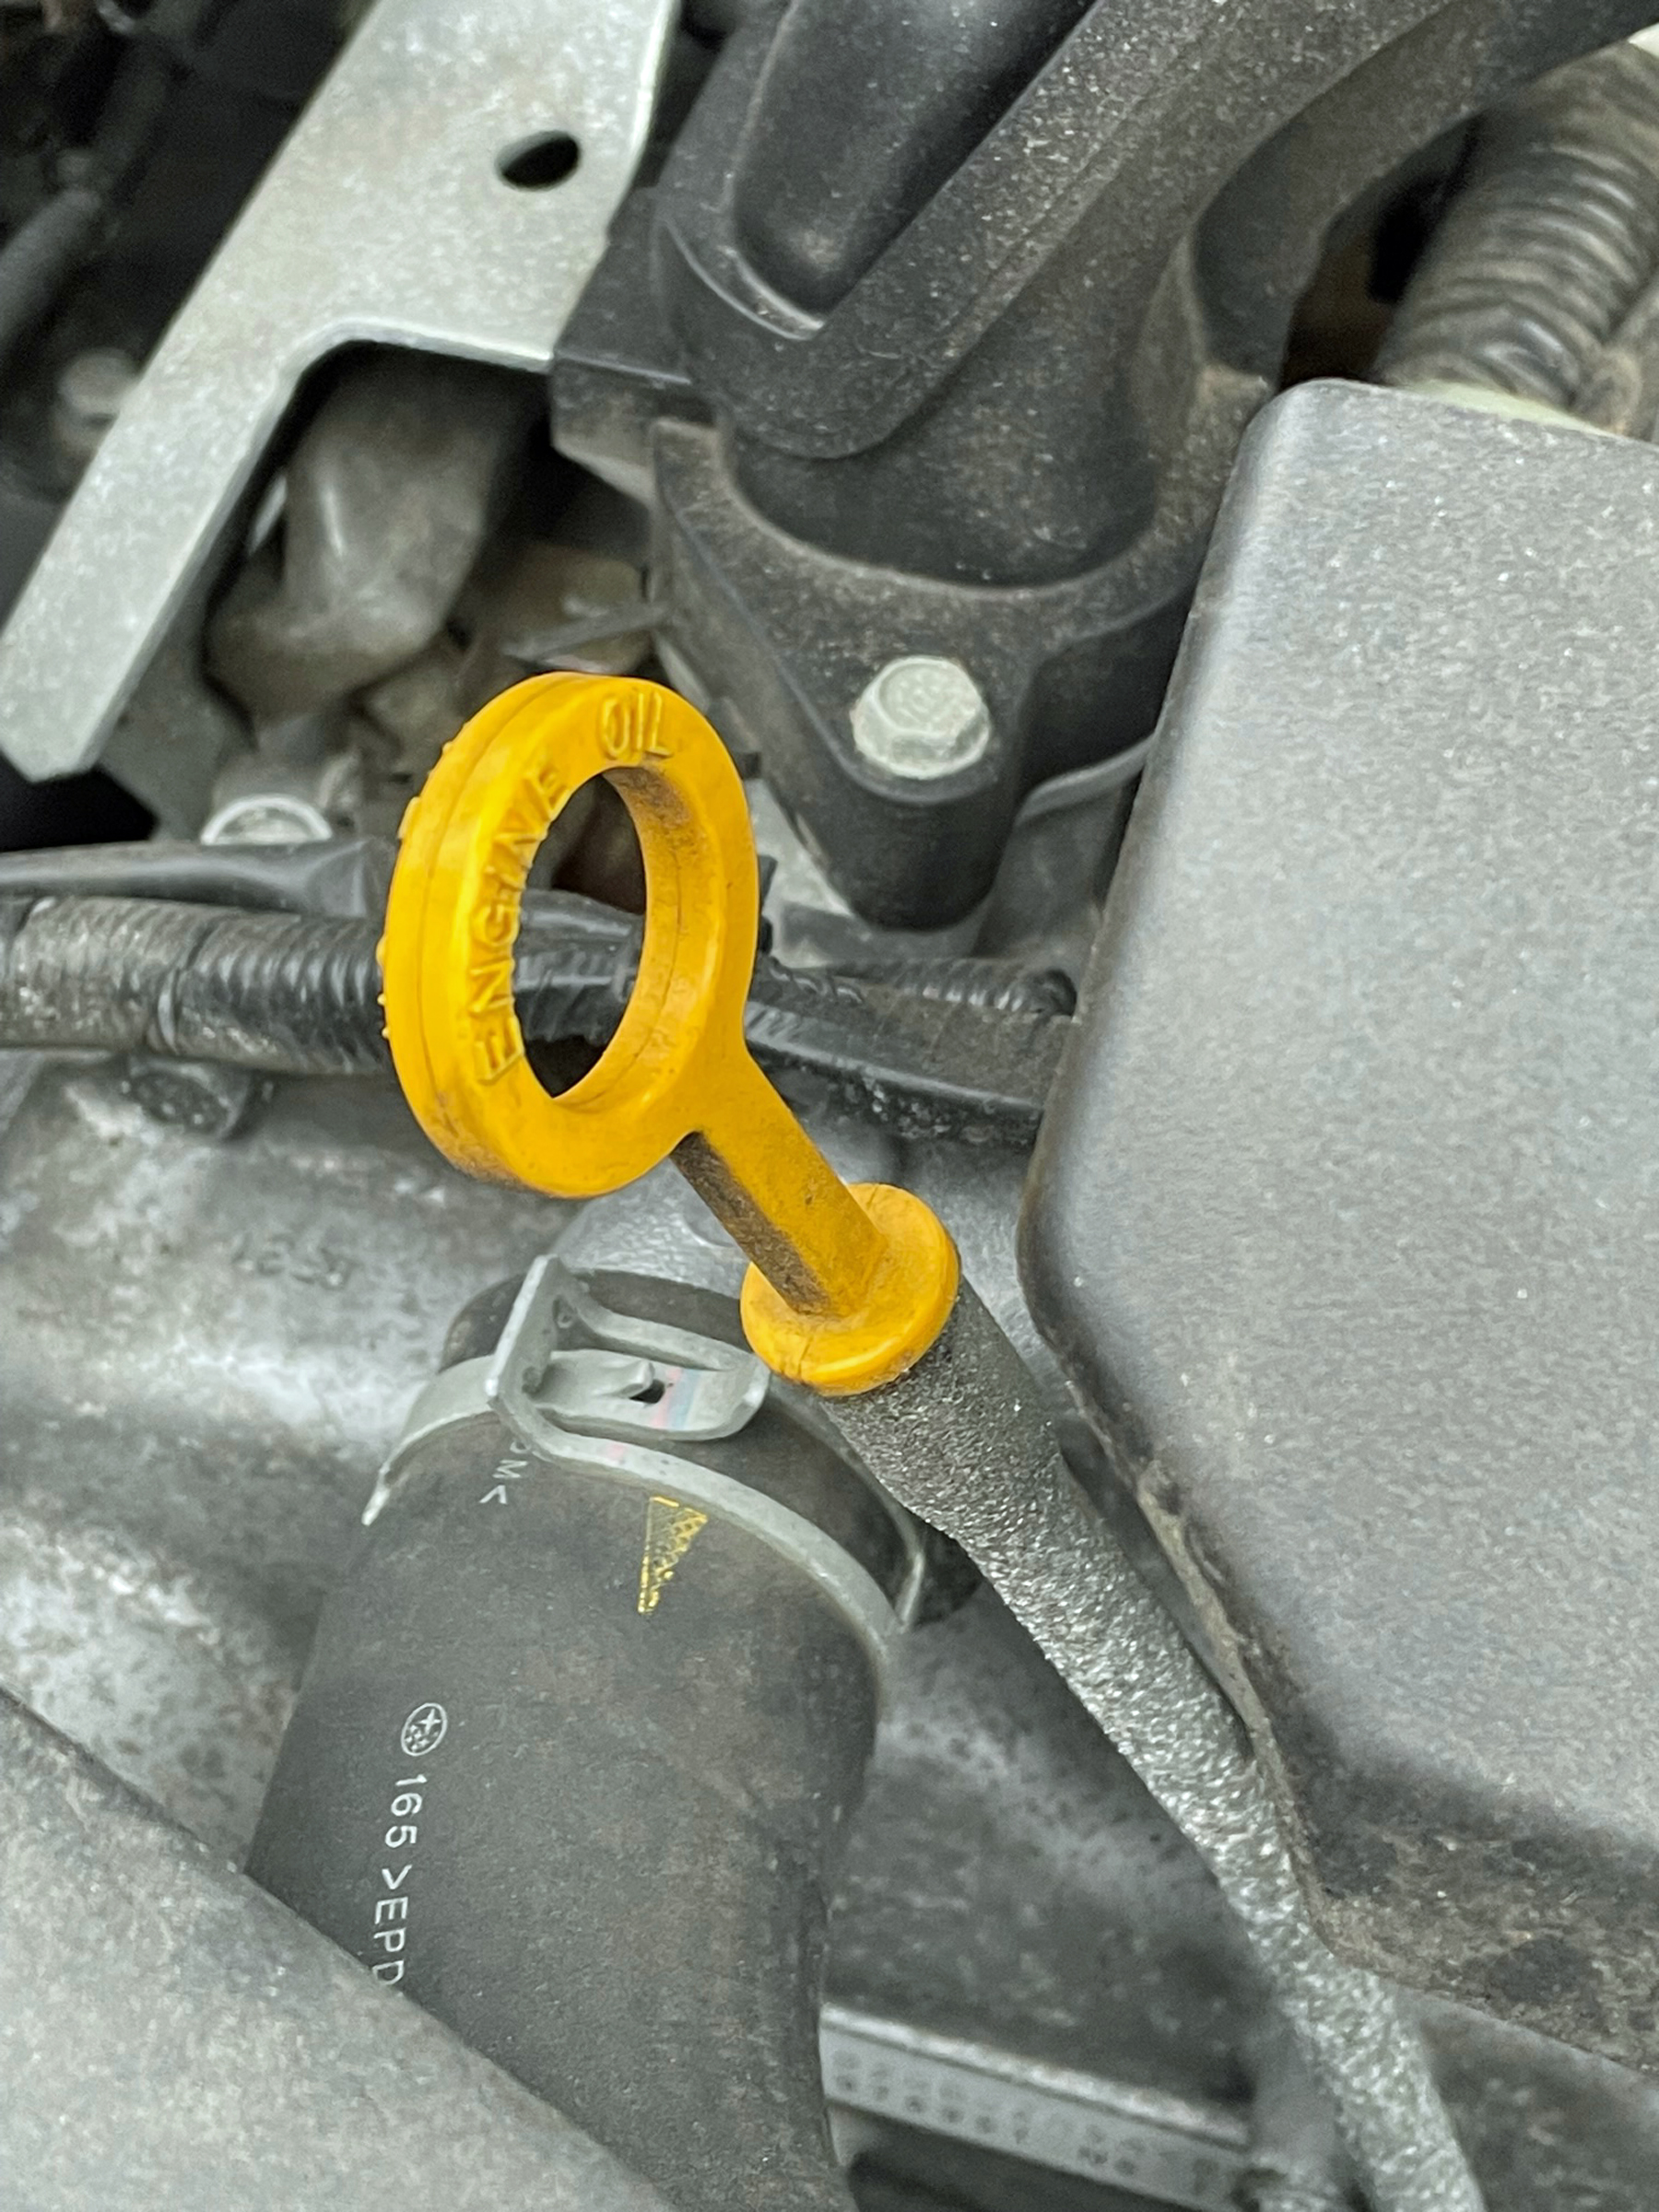
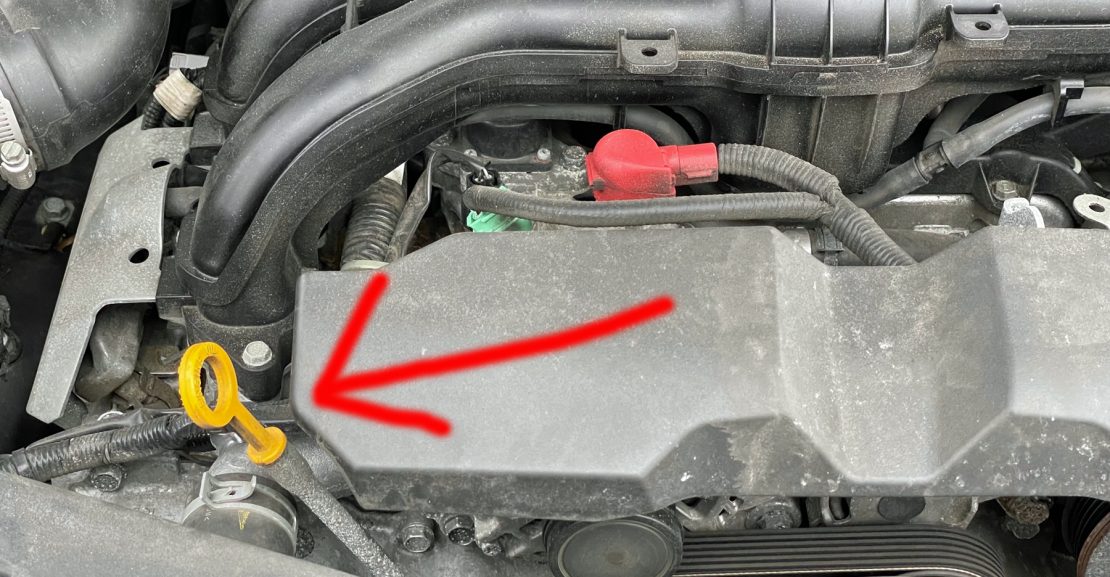
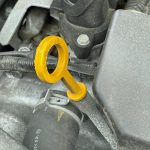
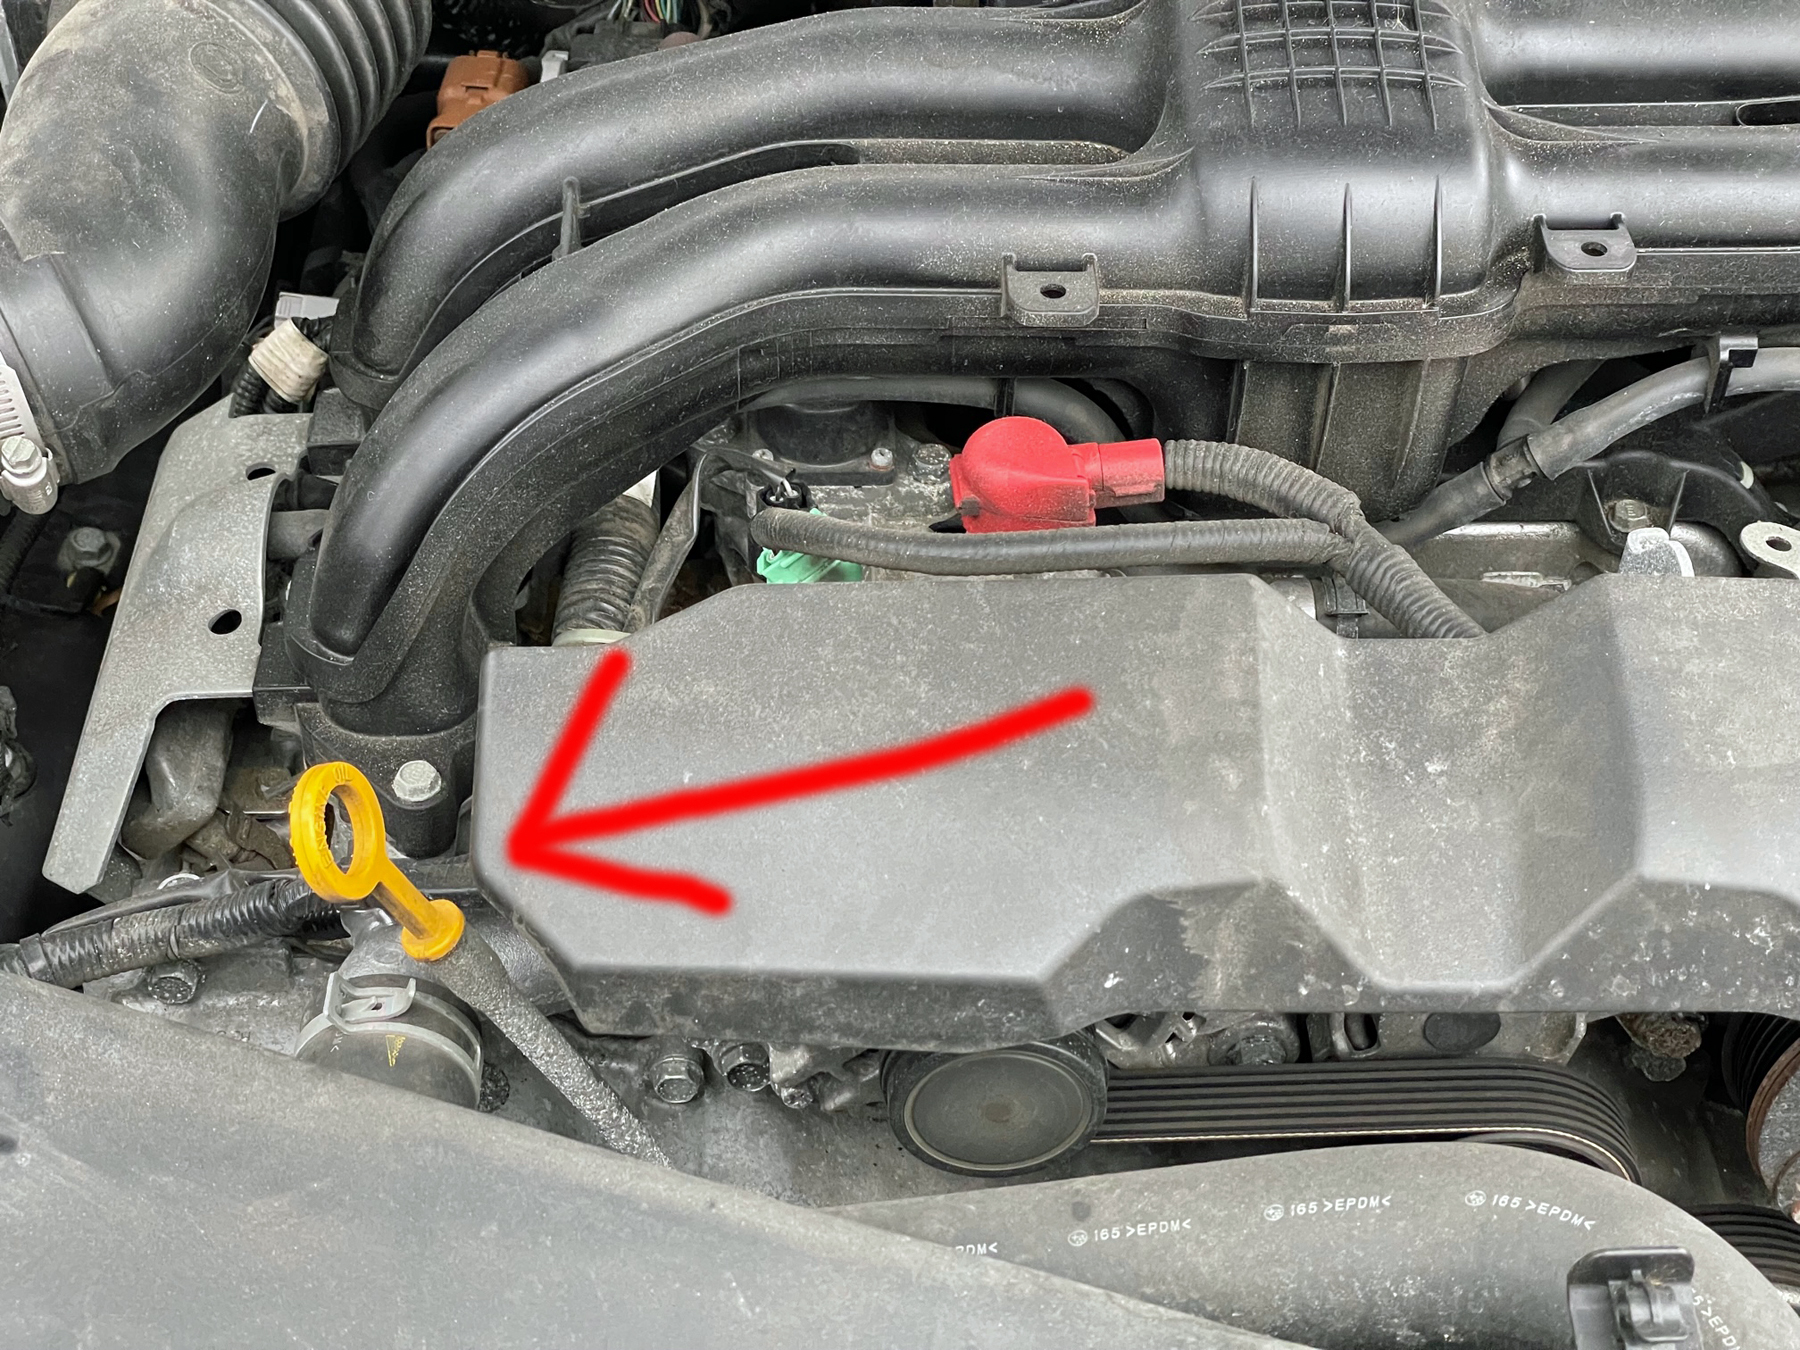
Locate the dipstick
You’ll find it on one side of the engine. On front-wheel-drive cars it is usually located on the front side of the engine.
Check the oil
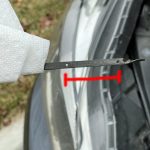
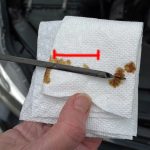
Pull the dipstick out and wipe off the end with a clean rag. Insert the dipstick back into its tube and push it all the way down. Then pull it back out. If the crankcase is full, the oil level will be up to the full mark on the dipstick. The add line is usually one quart below the full mark.
Are You Changing Your Oil Too Often?
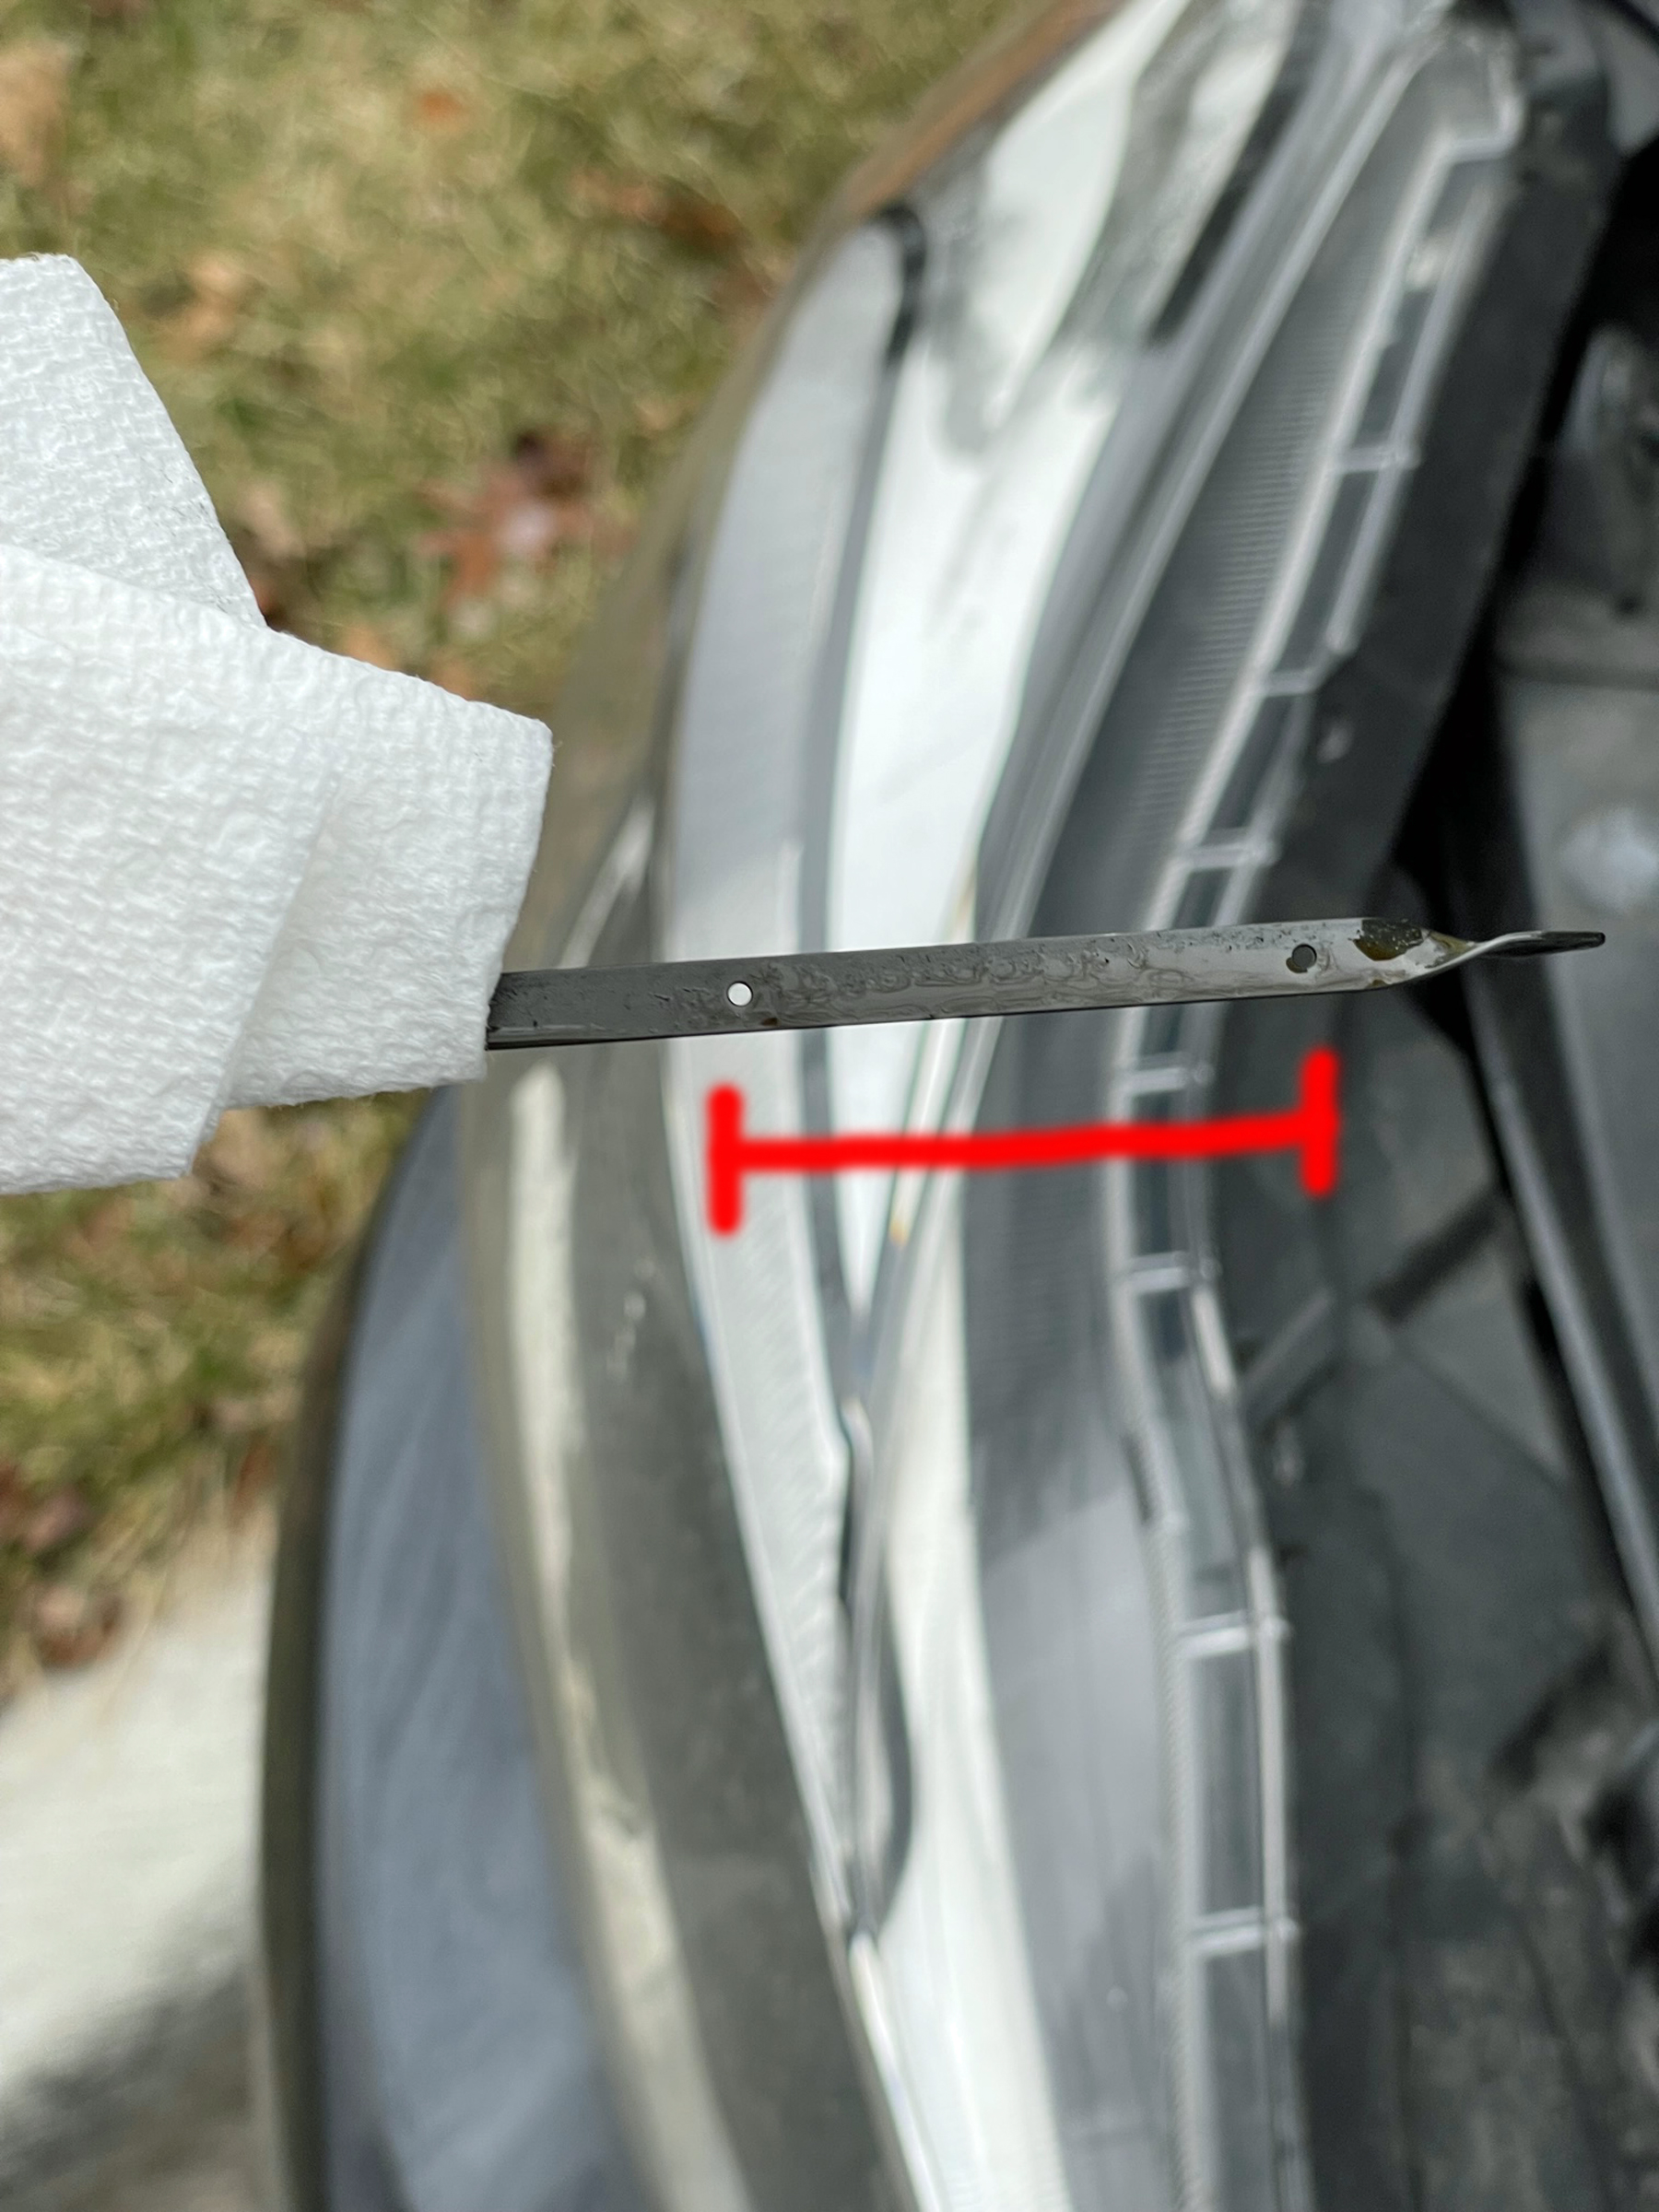
Decoding the dipstick
Although you don’t have to add oil until the level drops to the add line, (or add hole, as seen in the pictures here) many professional mechanics recommend adding just enough oil to maintain the level at the full mark. Waiting until the level reaches the add line means your engine is running a little low; on an engine with a four quart capacity crankcase (which is what most engines have today), driving a quart low can increase oil temperatures, reduce lubrication and possibly cause damage through oil starvation during hot weather, high-speed driving, or towing. Note: Don’t overfill the crankcase with oil. This can force oil past seals resulting in leaks and smoking. It can also cause oil foaming if the level is high enough to be whipped into foam by the crankshaft. Since air bubbles interfere with lubrication, foaming can reduce the flow of oil to vital engine parts.
Why Your Headlamps are Clouding Up
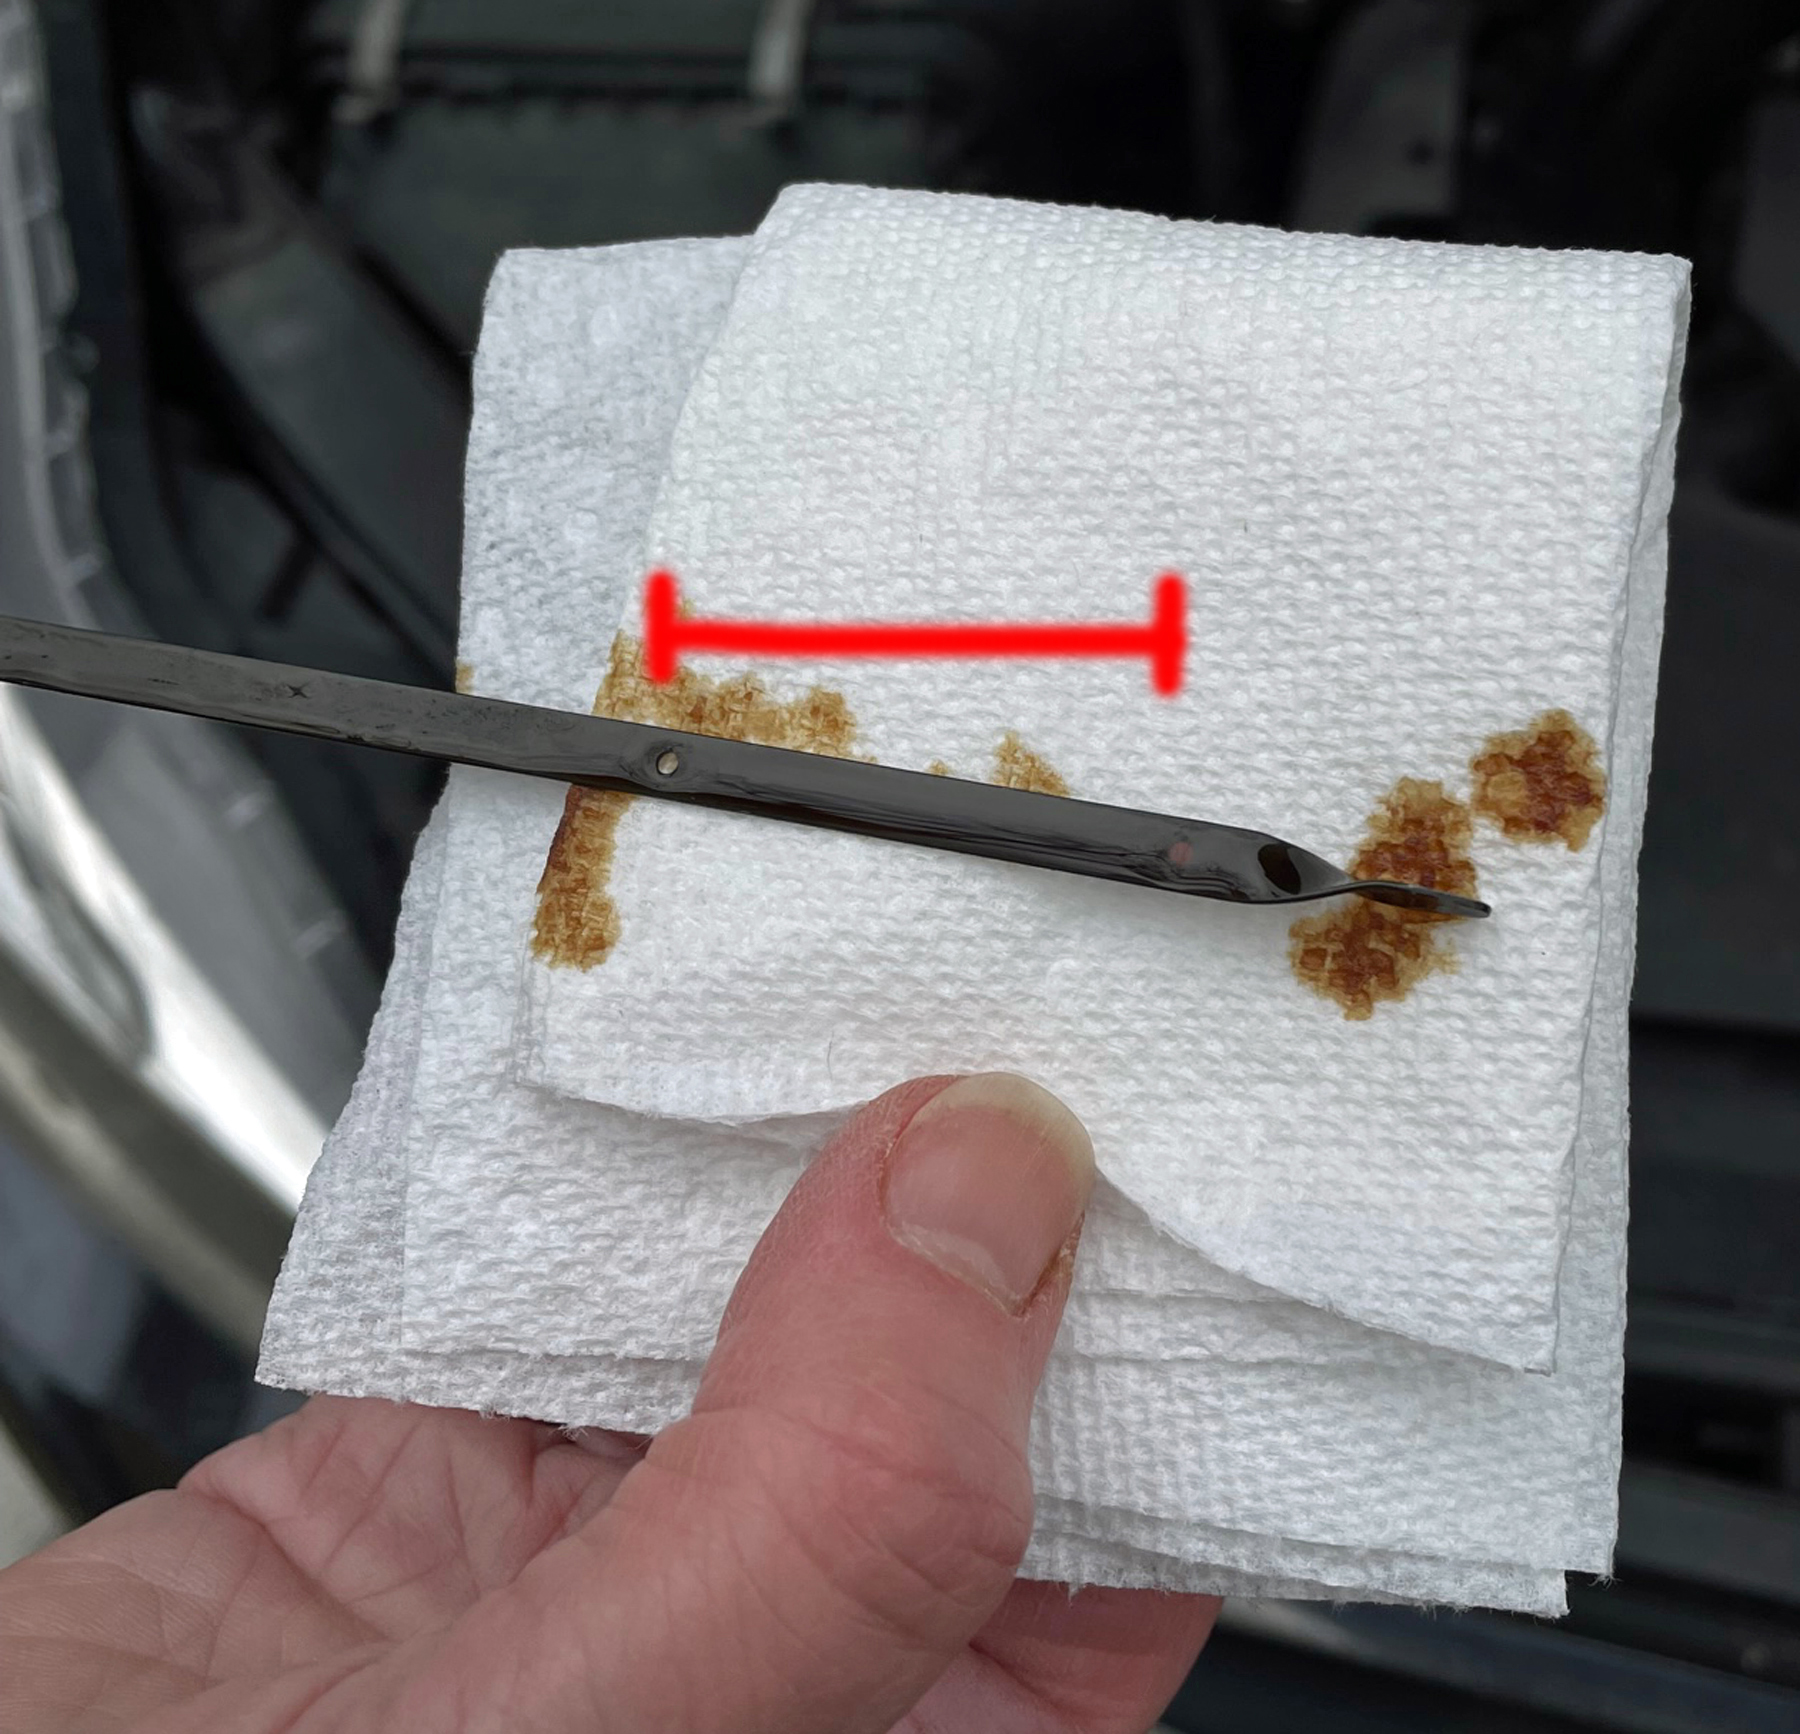
Add oil (as needed)
Should you find no oil on the dipstick when you check it, first make sure you’ve pushed it all the way back into its hole or tube. If you’ve done it right, then add enough oil to bring the crankcase back up to the full level and then check the engine for oil leaks. An engine in good running condition should use less than half a quart between oil changes.
Some engines may use more, but if oil consumption is as high as a quart every few hundred miles, it indicates either a severe oil leak or mechanical problems such as worn valve guides, valve seals, and/or piston rings. Blue smoke in the exhaust means the engine is burning oil due to one or more of those mechanical problems.
Historically Helpful: Money-Saving Tips From 1959
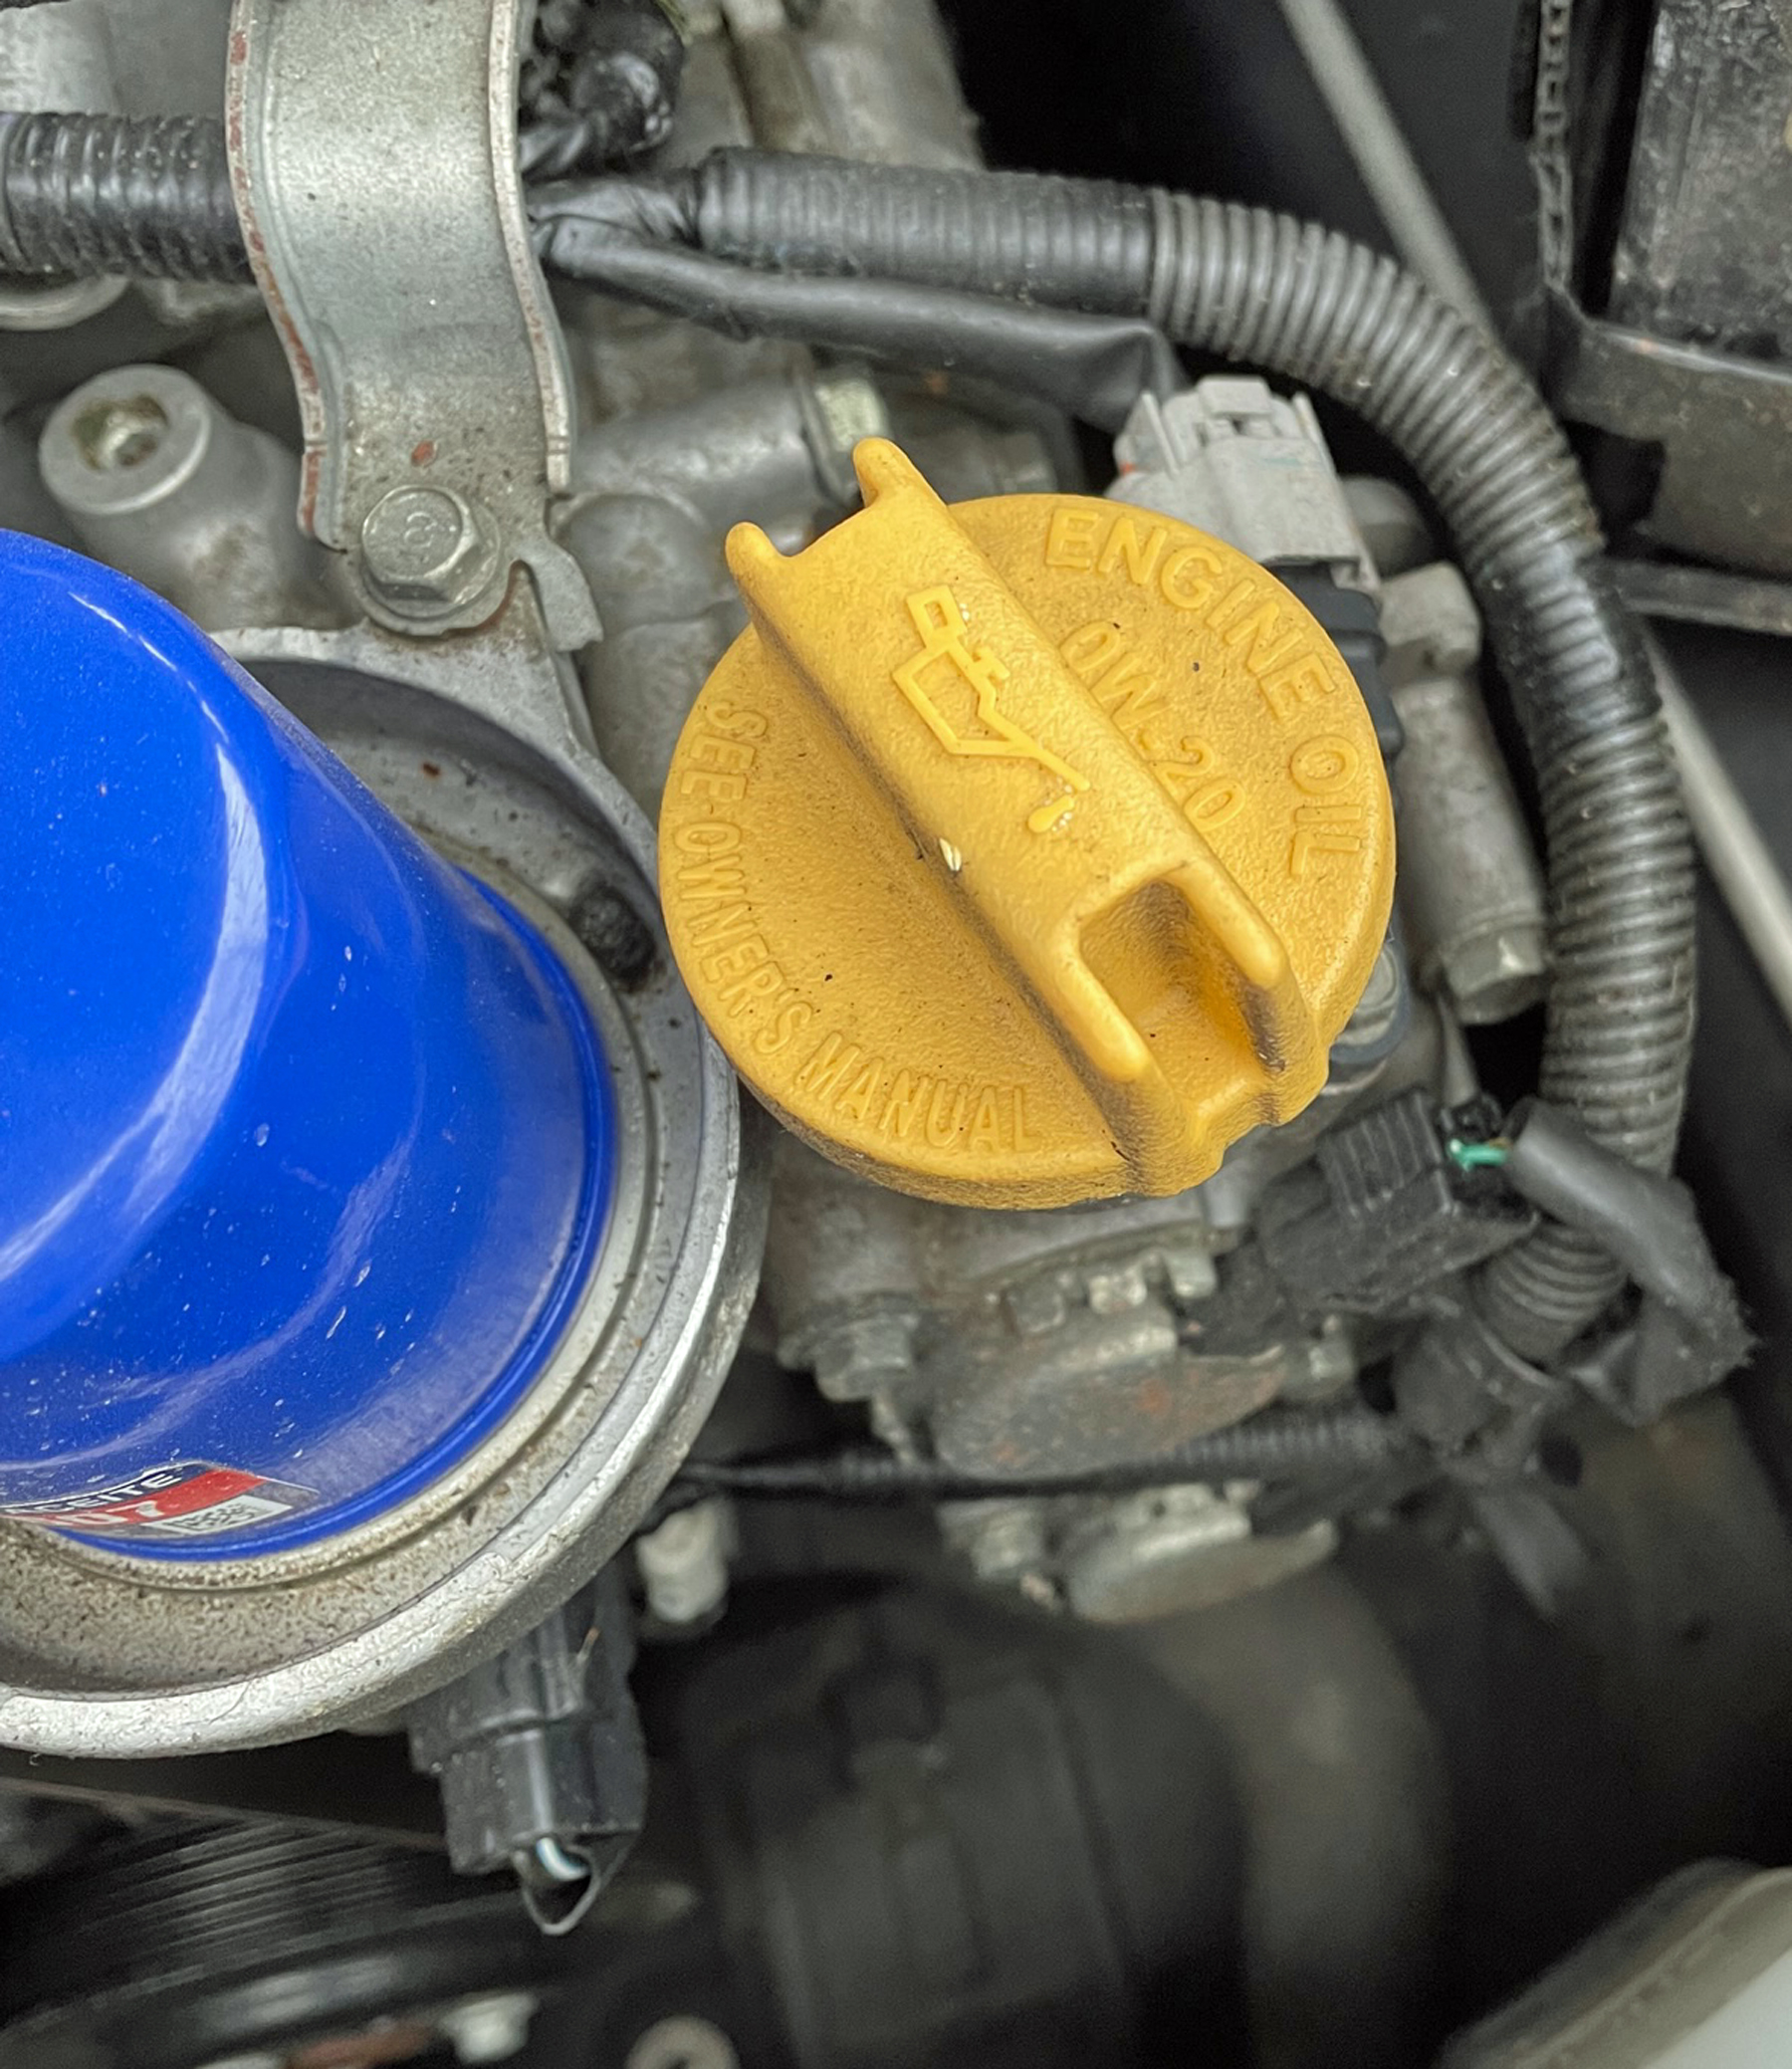
Decoding your oil (extra credit)
You can’t tell a lot about the oil’s condition by appearance alone since oil turns brown after a few hundred miles of driving. A yellowish or foamy appearance signals moisture contamination, a normal condition for engines that are seldom driven or used mostly for short trips. Moisture is a by-product of combustion and over time it combines with other contaminants for form acids and sludge. Most of the moisture is removed by the positive crankcase ventilation (PCV) system, but if the PCV valve is plugged and/or the engine is never run long enough to evaporate the accumulated moisture in the crankcase, moisture builds up quickly.
You’re done
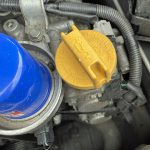
When you’ve finished checking the oil, put the dipstick back in its hole. Painting the handle of the dipstick a bright color can make it easier to find in a dark engine compartment–not that anyone has done this since 1972. To add oil, remove the oil filler cap located on the top engine or valve cover. Some caps twist off and most rubber ones simply pull out. Add only enough oil to bring the level up to the full mark on the dipstick. Use the type of oil recommended in your owner’s manual. It should be the same viscosity and brand as the oil already in the engine. Don’t forget to replace the filler cap and recheck the dipstick after adding oil. Note that most gas stations make paper funnels available at no cost. These are super handy and help you to avoid spilling oil in the engine bay, which can result in mostly harmless but smelly oil burning.
Listen to the Car Stuff Podcast
How to Check Your Oil Gallery
Click below for enlarged images.
How to Check Your Oil
How to Check Your Oil

